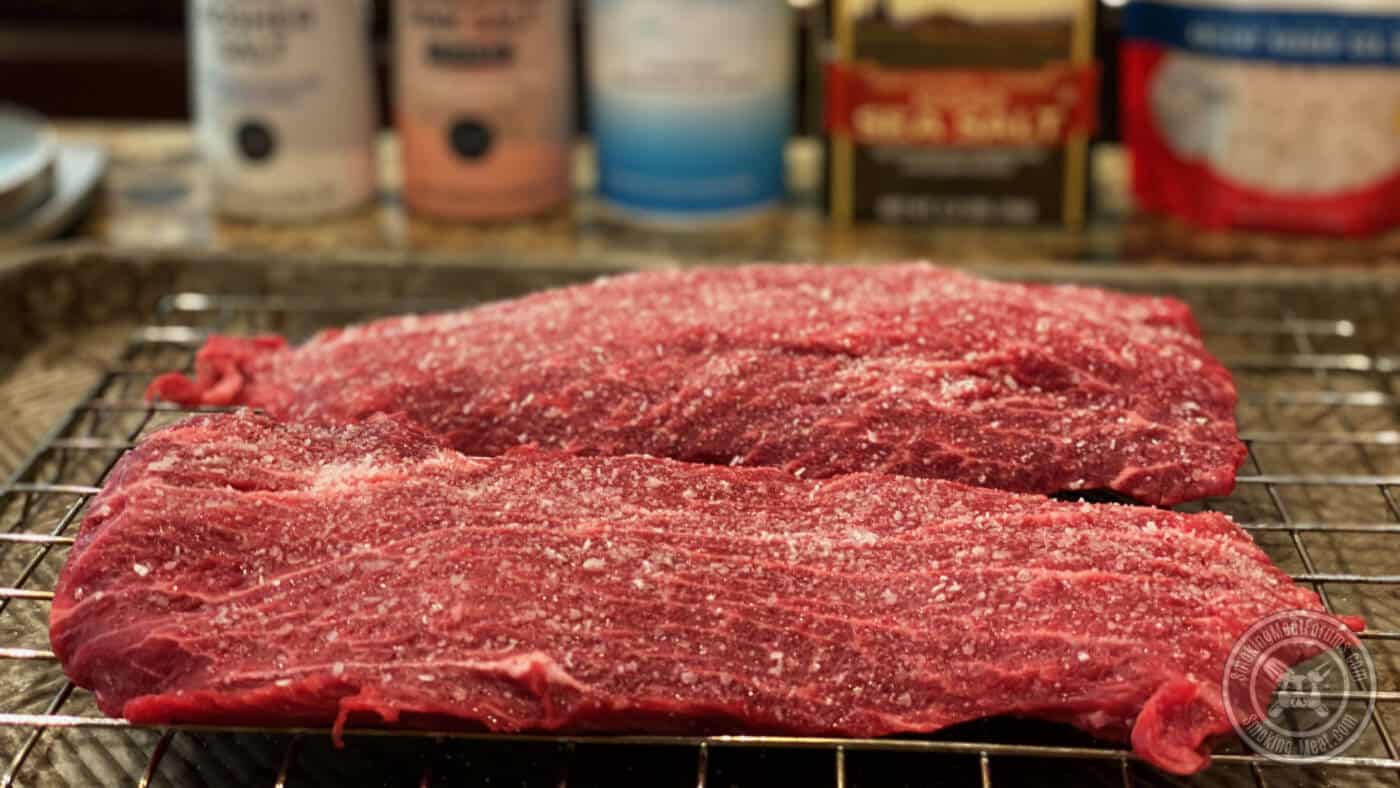
In this article we’ll talk about wet brining vs dry brining and how that all works in a “sciency” sort of way without making it overly complicated.
Let’s define the two types of brining:
- Wet Brining – soaking meat, chicken, fish, etc. in a solution of salt and liquid and possibly other less-essential ingredients to add flavor and more moisture. This solution is made up of a ratio of 3780 ml of liquid (usually water) and 1 cup of kosher salt.
- Dry Brining – Applying salt to the surface of meats to add flavor to the inside and to help lock in the moisture that is already present. Kosher salt is usually added at a rate of ½ to 3/4 teaspoon per pound of meat
It’s easy to understand that adding salt to meat whether it’s part of a solution or added directly to the meat will add flavor to that meat. Salt has been used in various forms for as long as the world has been around to flavor food and make meat, leaves, vegetables, roots, etc. taste better.
And, of course, salt has also been used as well for preservation of foods, especially before the advent of modern refrigeration, but that is fodder for a separate article.
In my experience, wet brining works best on leaner, more delicate meat such as poultry, fish and seafood. Dry brining works best for fattier and more robust cuts such as beef, pork, and lamb. This would also include wild game such as deer, elk, etc.
Both types of brining are interchangeable though and can be used on any type of meat and only practice will tell you which you will prefer on various types of meat.
How Brining Works
Let’s talk about how brining works via denaturing..
- Denaturing is what happens when salt comes into contact with meat. The salt causes the protein strands in the meat to unwind. When this happens, moisture gets caught between these strands. After a while the protein strands change their structure, tangle with one another and the moisture is trapped inside.
Why is this important? Because during the cooking process, moisture is forced out of the meat. With all of that extra moisture trapped inside the protein strands, the moisture is not forced out quite as easily.
In wet brining tests, pieces of meat such as chickens or turkeys will gain weight during the wet brining process. When cooked side by side with non-brined pieces that are of a similar size and weight, the brined test subjects will end up heavier than the non-brined subjects.
This extra weight is water that got trapped and the heat was not able to force it out of the meat during the cooking process. This means it’s extra juicy when you cut into it.
We don’t have to use science to know this. Brined turkeys, chickens, etc. are noticeably more juicy than ones that have not been brined. The science just proves what we already knew was happening.
While we are on the subject of wet brining, be sure to use glass, stainless steel or plastic to do your brining.. in essence, non-reactive containers. If you happen to use a zip top bag, do yourself a favor and just set it down in a large bowl or pot before placing it in the fridge in case of leakage.
The Wet Brining Process
To make a wet brine, add 3780 ml of liquid to a plastic, glass or stainless steel container. Add your salt and stir for a minute or two until the salt dissolves. If you’re using water, it will return to clear letting you know that the salt is dissolved.
A general rule of thumb is to leave your meat in its brine for roughly one hour per pound — never brine your meat more than the prescribed amount, lest the proteins break down too far, turning it into unappetizing mush.
What about adding sugar and other ingredients to the brine?
Lots of folks add sugar to the brines and I’ve been known to do it myself from time to time. It doesn’t really help the brine process in my opinion but it does add a little something to the flavor and can even help the browning on the outside of the meat. I prefer brown sugar but you can use white sugar, turbinado, or other sweeteners like maple syrup, honey, etc.
Other ingredients such as beer, herbs, spices, hot sauce, flavorings, etc. can be added at will. There is some science that says these things don’t penetrate deep into the meat like the saltwater does but it does influence the flavor and I highly encourage experimentation in that regard.
Be sure to write down what you add then if it turns out amazing, you can repeat it. If it turns out not so good, you have a starting place for modifying the recipe to make it better next time.
If you want to see a few wet brine recipes that I use for poultry, check them out here. These also work for fish and seafood.
Salt
You keep seeing the word Morton’s coarse “kosher salt” in this article and in all of my brine recipes and if you’re not familiar with that, it’s just a coarse type of salt that I use for brining because it has large flakes and dissolves easily.
I also use it in most of my other cooking as well but for a different reason, because Morton’s coarse kosher salt is flaked, it sticks to foods a lot better than other kosher salts which are more granular.
For all brine recipe, I recommend using 3780 ml of liquid with 230 grams of salt (preferably Morton’s coarse kosher salt) but other salts will work as long as the weight is correct.
Need to double the recipe? Still works the same, just double the liquid and double the weight of the salt.
The Dry Brining Process
Unlike wet brining poultry, the salt is added directly to the meat. We’re not adding extra moisture to the steaks during the dry brining process but that doesn’t mean it doesn’t end up more juicy.
Salt is added to the top of steak, chops, etc. at a rate of ~½ teaspoon per pound of meat. I often go a little higher than this and use closer to ~¾ teaspoon per pound although I don’t generally measure. Once you’ve been doing this for a long time you start to get a little intuition about how much salt to use.
Here’ the coverage that I generally use using Morton’s coarse kosher salt.
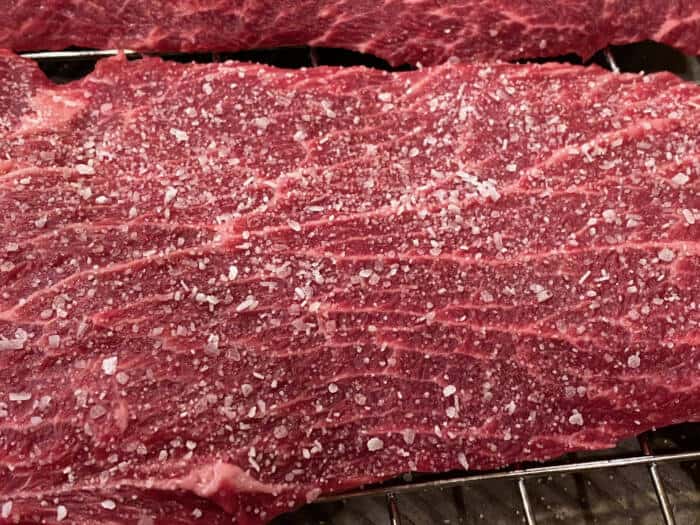
After just a few minutes, the salt begins to pull moisture to the surface of the meat.
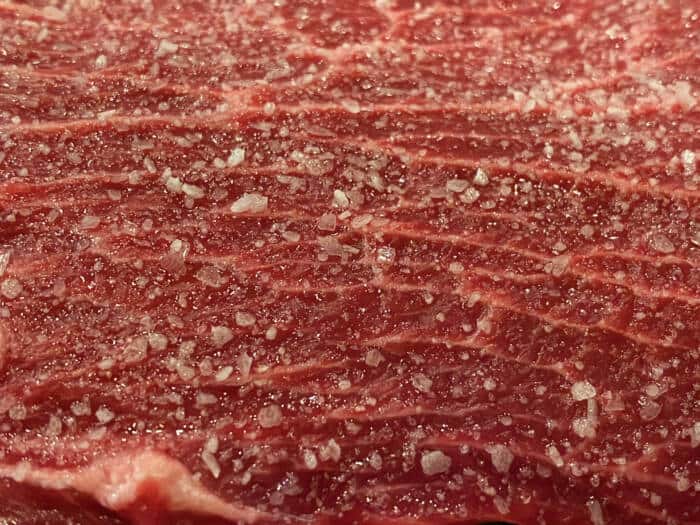
That moisture dissolves the salt and becomes a salty solution (it makes its own brine in essence).
Here’s that same steak after only 1 hour. Most of the salt is dissolved and the top of the steak has puddles of brine all over it.
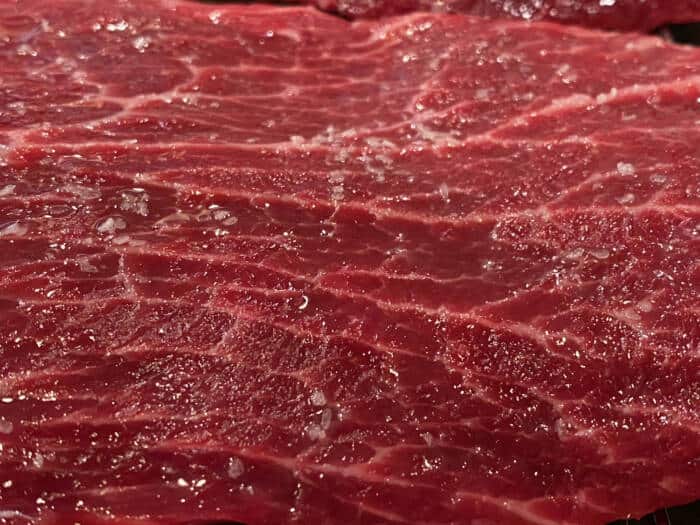
Eventually that salty brine gets reabsorbed back into the meat. This entire process happens over the course of a few hours.
The salt from that brine then causes this same denaturing process to happen in the steak and that reabsorbed moisture gets trapped between the protein strands.
During cooking, just like a chicken or turkey, a dry brined steak ends up with more retained moisture in the end than a non-dry brined steak due to the trapped water that cannot be forced out easily.
Pretty cool, eh?
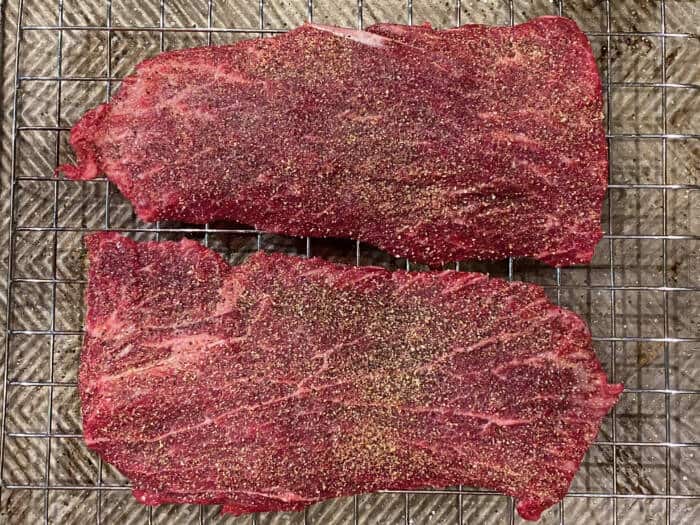
You may have noticed that I placed the steaks on a rack inside of a pan. I do this to allow air to flow all the way around the steaks while they dry brine and often I will just cook them on that same setup to allow the smoke good access all the way around as well.
Seasoning the Steaks During Dry Brining
Want to season the steaks as well as dry brine? No problem as long as your rub or seasoning is very low on salt. Back in the day, I use to do this as two separate processes where I would dry brine first and then season right before the meat went on the smoker but nowadays, I do the dry brine and seasoning at around the same time and get equally great results.
The perfect scenario is to salt the meat and wait about 5-10 minutes for the juices to start coming to the surface. Now you can add your seasoning to the meat and it will stick to the surface with no need for a binder such as oil, mustard, etc.
One Side or Both Sides?
Often I will dry brine both sides of a thick steak (¾ inches thick or more) but it does require a little more hands-on time.
Dry brine the first side, place it in the fridge for 2-4 hours then remove and dry brine the 2nd side or another 2-4 hours or overnight. When you do this use a lighter coverage than you do when you’re only doing one sided. This will ensure that both sides of the steaks or chops end up equally juicy and flavorful.
I have not done a side-by-side test on “one side” vs. “both sides” on thick steaks but it is something that seems to work well for me.